How to Install Blinds NZ
Before you start, you’re going to need these tools:
- Phillips screwdriver
- Tape measure
- Pencil
- Pliers
Please select your type of blind for specific installation instructions.
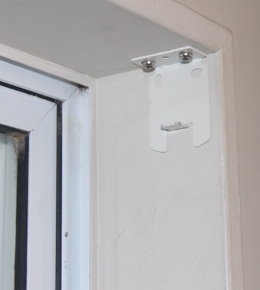
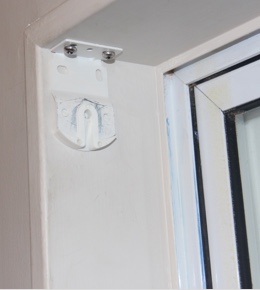
If your blind is going to be an inside fit the bracket will be top mounted (see Fig 1 & 2 ) At this point you can adjust where the blind will sit in the window frame – therefore adjusting the amount of light that comes in – further into the frame the more light blocked.
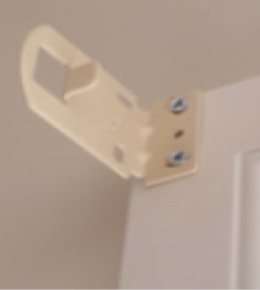
If the blind is going to be an outside fit the bracket will be face mounted (See Fig 3)
Now decide which side you want the chain on – this side’s bracket is fitted with the tab (Fig 1 & 3).
-
- Figure 1
-
- Figure 2
-
- Figure 3
Important note:
The blind needs to be at least 1cm clear of any parts of the window that may be behind it & 2cm clear of the glass if it is back rolled.
Now carefully with your tape, measure out a distance from the window frame, place the chain end bracket in position & mark the screw hole positions with a pencil.
Repeat for the other end, making sure again that both brackets are the same distance from the front edge of the window frame. Remove the brackets & drill a hole at each pencil mark. Screw brackets in position.
-
- Figure 4
-
- Figure 5
-
- Figure 6
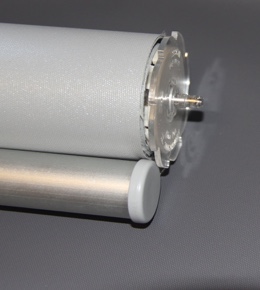
If the pin is sticking out as in the picture (Fig 4), turn the serrated wheel until it is fully retracted.
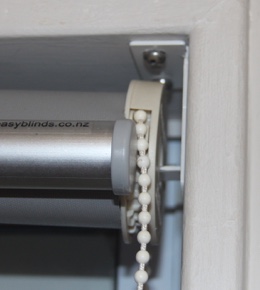
Pick up the blind & insert the chain winder end into the chain end bracket (Fig 5), making sure the part covering the chain is at the top.
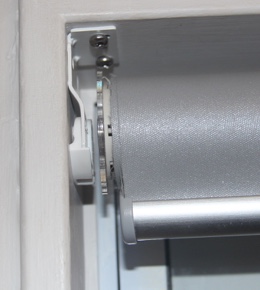
Put Pin side into place, now twist that serrated wheel back to release the pin into the bracket (Fig 6).
Now that your blind is fixed into position, Unroll your blind. Find the lowest point and put a chain stopper on the part of the chain to stop the blind going down beyond that point.
Find the top limit and put another stopper on the chain to stop it going up too far and over-winding. You may readjust the position of the stoppers by opening them again by pinching them at the back of the stoppers (opposite the opening) and they will open and release the chain.
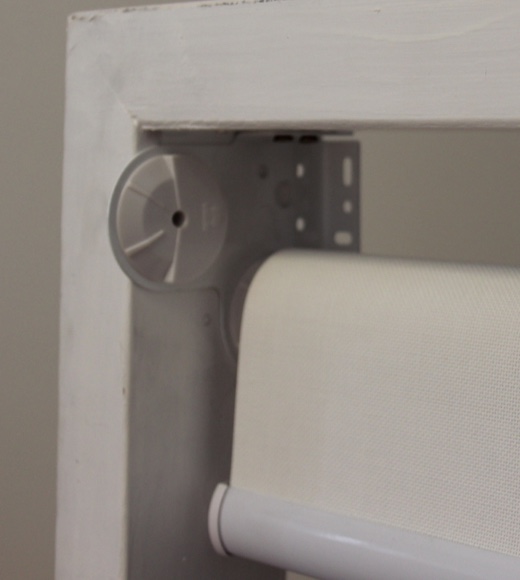
Have double Roller Blinds? No problem! its exact same process as a single set-up, following the same instructions above, only you have to do both blinds this time (Fig 1 & 2)!
-
- Figure 1
-
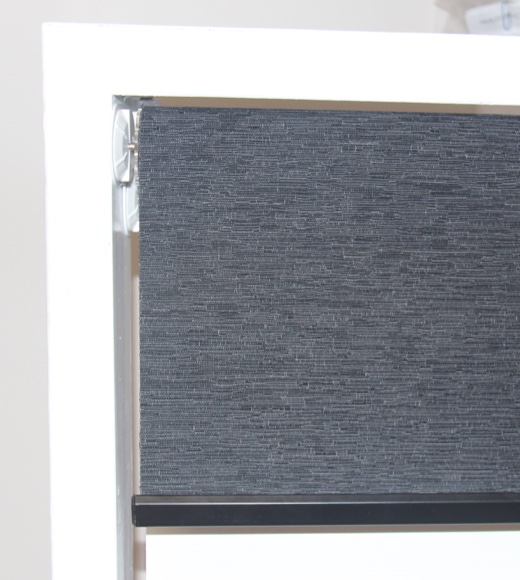
- Figure 2
Starting from either left or right, measure out from the window frame evenly and screw in the brackets. Note: The right and left brackets should be the width of the blinds apart plus 5mm each side.
Where the screws go will be determined by what fix you are going for (Fig. 1 & 2)
When Needed Install Centre Support bracket (Fig 3) towards the centre of blind. Locate Centre Support on Headrail so it doesn’t interfere with ladder.
Open the hinged “doors” of the Box Brackets by depressing the bottom of the bracket to unlatch the door (Fig 1). Insert the Headrail into the brackets and close the doors, making sure they latch into the bottom of the bracket. When Centre Supports are used, make sure Headrail is inserted so that it rests on the Support.
-
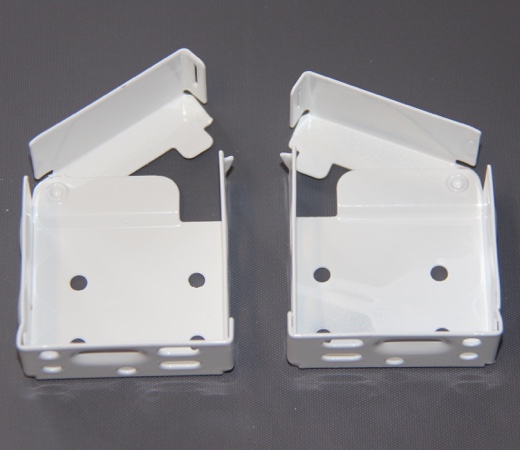
- Figure 1
-
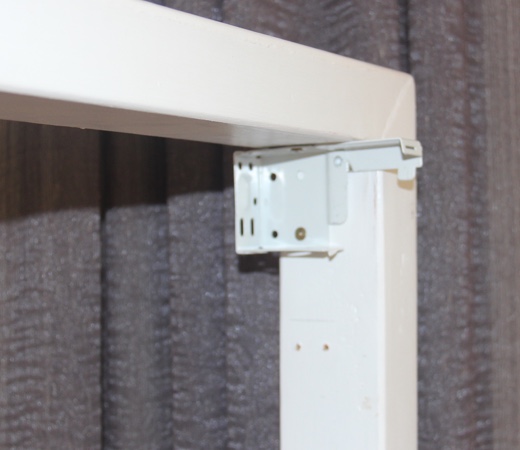
- Figure 2
-
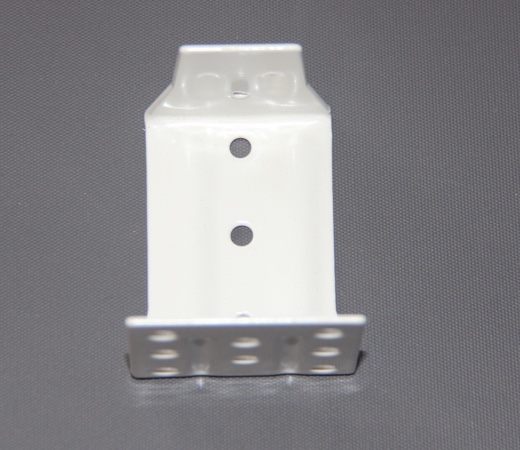
- Figure 3
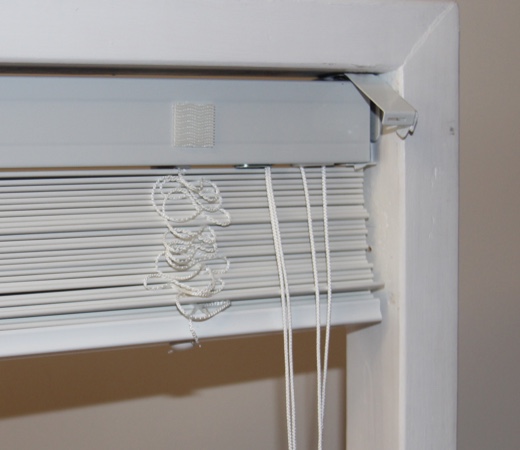
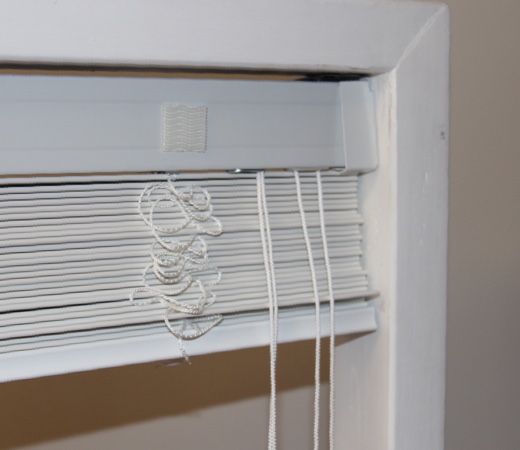
Finally, after securing Headrail into the brackets (Fig 4), shut the hinged doors (Fig 5). Then test the blind by operating the cord lock and tilter.
-
- Figure 4
-
- Figure 5
Installing a Valance
Locate the pre-fitted double-sided tape attached to the face of the headrail, remove plastic cover strip.
Position the Valance so that the centre is at the centre of the headrail.
Holding the Valance at a slight angle, push it onto the tape. Often it is more secure to reach into the headrail with your fingers and using your thumb on the outside of the valance squeeze gently where the tapes are to ensure a secure fit. End result should look like Fig 6!
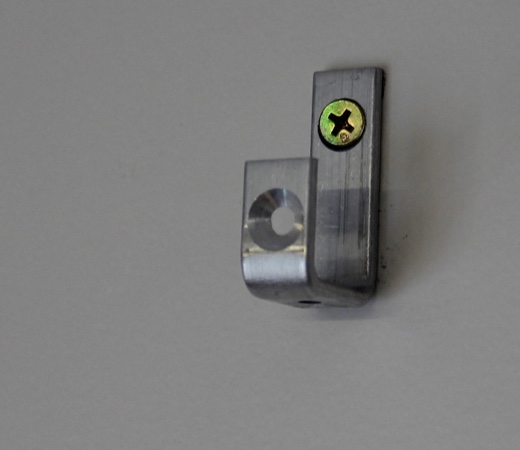
Installing Roman Blinds is very quick and easy. Your blinds will automatically come with brackets that are suitable for an External top fix. All you need to do now is screw brackets to wall (the longest side gets fixed to the wall) – make sure you are screwing where you measured from and that they both at the exact same height (Fig 1).
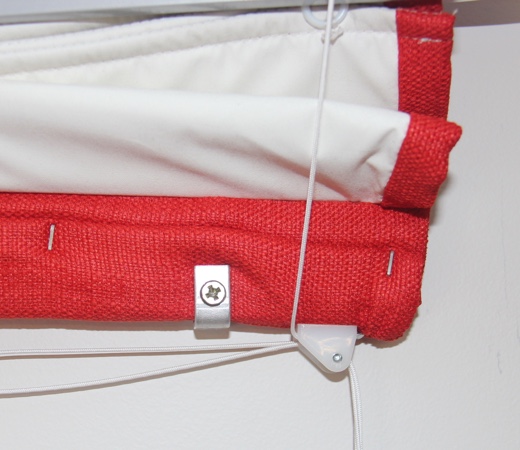
Then just simply fix the second screw into the blind rail (Fig 2) …. and you’re all done!
-
- Figure 1
-
- Figure 2
If you are unsure about any of these instructions, please call us on 0800 110 385

